Inspiration Board {tutorial}
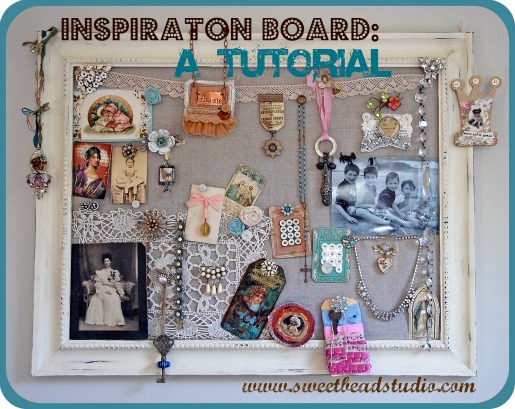
Classic Inspiration Board Tutorial
Making a classic inspiration board is really quite simple – just gather a few supplies that can be found in your local craft store. You can make a custom inspiration board by choosing your favorite paint color, and by covering cork boards with fabric. Join me for a few step-by-step instructions!
This is a great time to use an old frame that has been stashed in the closet. If you’re like me, you may want a great big surface to showcase your momentos and photos. Your inspiration board can be as small or as large as you’d like! *
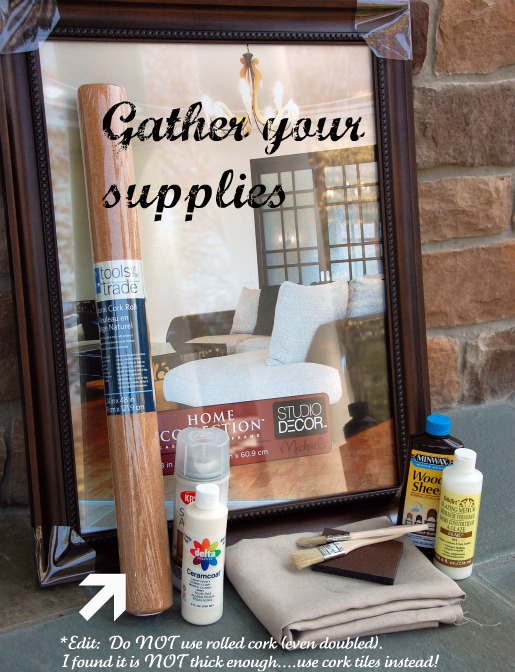
*Please Note! – I found when I completed my project, that doubling up cork sheet (that comes in the roll shown in the above picture) was NOT thick enough for push pins. I recommend using thick cork tiles, or combining cork boards to fit the size of your frame if it is large. Simply combine enough tiles to fit the desired frame size (trim if necessary), and adhere to your fabric using spray adhesive.
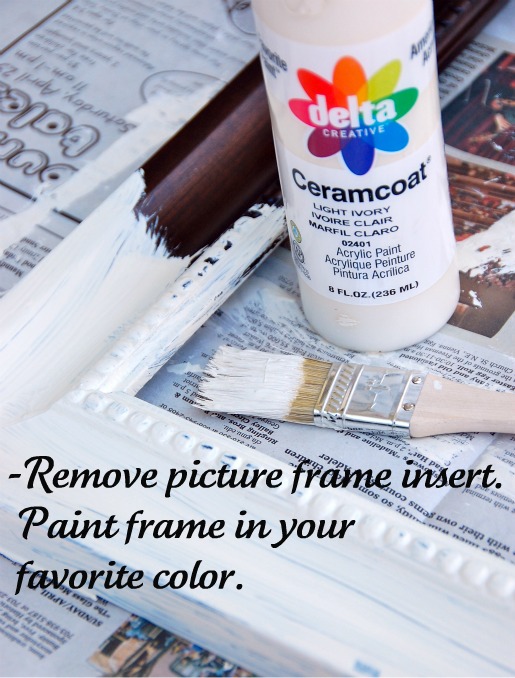
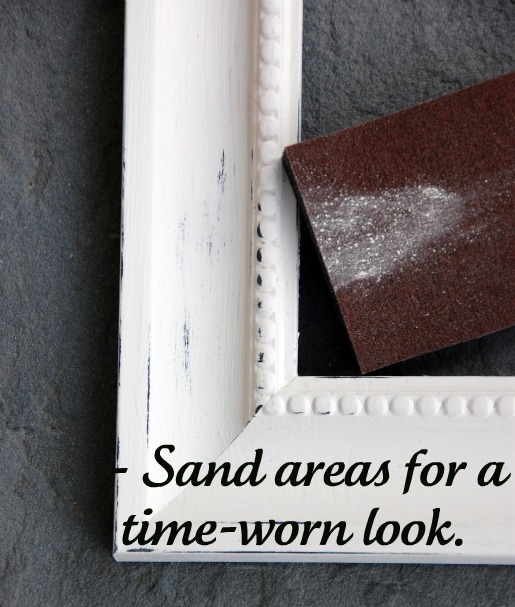
I made mine quick and easy – no priming, just went straight to painting. I wanted the wood to show through any way for distressed look.
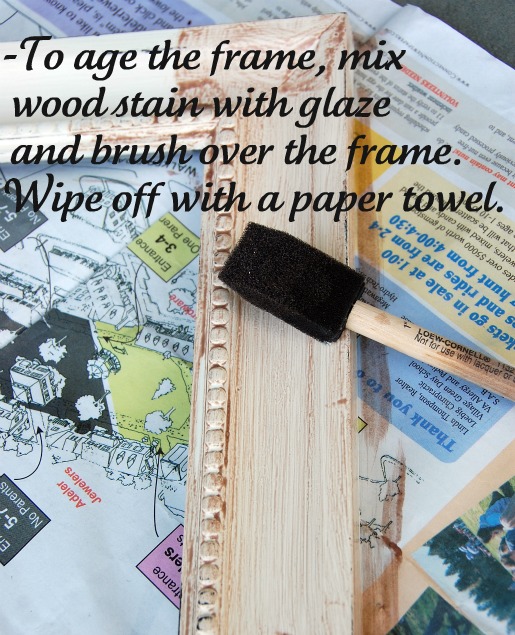
There are many ways to add character or “age” to your painted frame. Have fun adding layers of color, or applying paint/stains and removing them (when dry) to reveal the wood beneath.
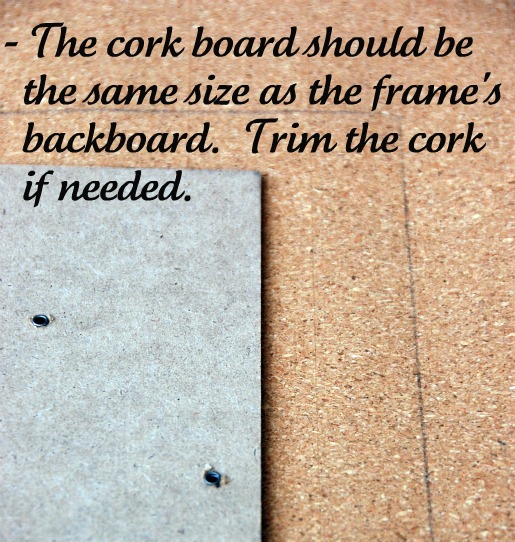
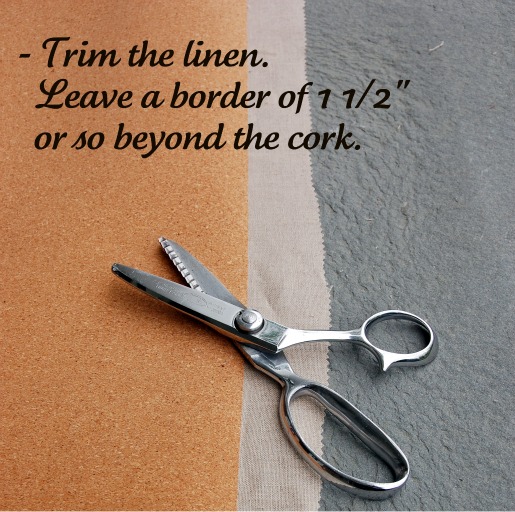
You can cover the cork with any type of fabric (as long as it’s not too thick!). I chose linen for a neutral back-drop.
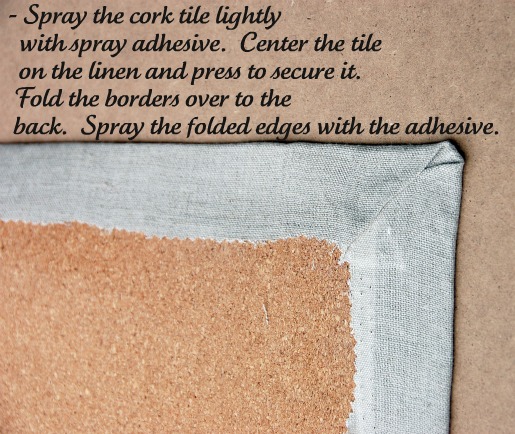
You’re ready to insert the fabric – covered cork board into your frame… it’s time to add those special photos, snippets, and souvenirs to your inspiration board!
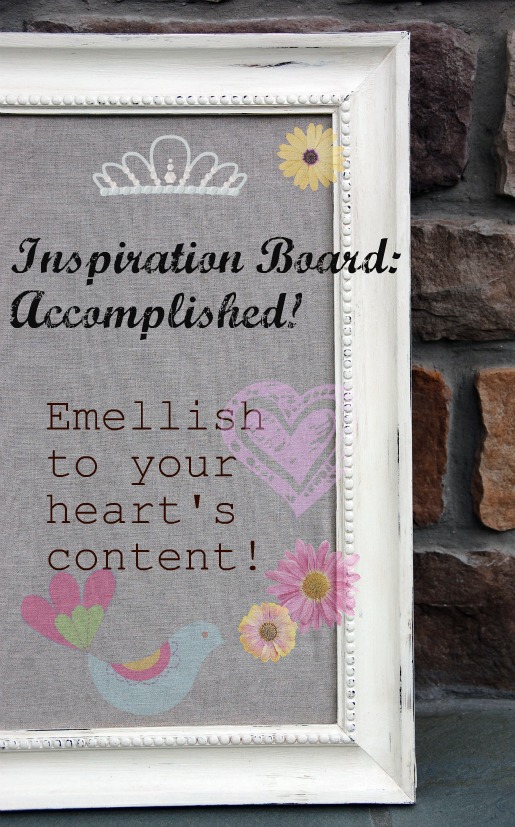
A few of the treasures that adorn my inspiration board…. I’m fond of the history, colors, memory, or the people who made them!

Thank you for joining me & have fun creating!
* If you’d like to learn more about the pieces on my inspiration board, please visit my inspiration board blog post.
– Cindy


 Follow Me on Pinterest


{ 5 comments… read them below or add one }
This is sooooo cool!!!I’m adding link to my blog!!Big Hugs,Cat
thank you for this tutorial!
Beautiful Cindy! Great idea to do a tutorial of your work. I love how you antiqued your frame.
I just love this Cindy! EVERYbody should do this, just for fun and to have something special to look at. Thank you fo the tutorial!
What an awesome idea, Cindy! I am adding your link to our monthly Polymer Clay guild newsletter. Thank you for sharing this tutorial!
{ 1 trackback }